Milling Spindle Gauges
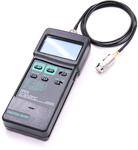
Drawbar Force Gauges
The ForceCheck gauge is available in a standard version, as well as wireless hand-held and machine controller integrated versions.
Tool Changer Alignment
Tool changer alignment gauges are used to check automatic tool changer positioning between the gripper arm, magazine, tool holder, and the spindle.
Improper alignment results in abnormal wear on spindle and tool holder tapers, faulty clamping, dropped tools, and decreased machine repeatability – resulting in reduced productivity and expensive machine damage.
Tool changer alignment gauges from TAC Rockford make correct alignment between the spindle and automatic tool changer easy.
Runout Test Arbors
Spindle runout arbors offer a quick and easy way to verify that a machine spindle is running true after a crash, after a machine has been moved, or periodically as a performance check. Arbors are available for all major machine tapers, including CAT/DIN/BT Steep Taper, HSK, Capto, Morse, and others.
Arbors for lathe/turning spindles are also available.
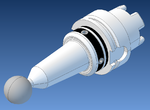
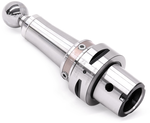
Ball-End Test Arbors
Ball-end arbors are typically used on 5-axis machining centers, but can also be used in place of a standard runout arbor.
Dimensional Measuring
Spindle taper gauges are used to check for worn tapers on machine spindles, as well as for verification when regrinding or manufacturing spindle tapers.
Master Setting / Center Height
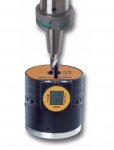
To guarantee accurate and repeatable machine accuracy, various other components in the total machining process need to be correctly and accurately positioned. The Center Height Gauge allows the spindle center and spindle orientation to be checked. In addition, the gauge can also be used for tool presetter verification.
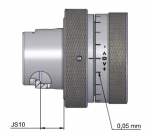
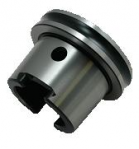
Drawbar Stroke Position
Drawbar position gauges are used to adjust and set drawbar stroke position on HSK machine tool spindles. The gauges allow the clamping angle to be adjusted to the high and low limits, allowing the stroke position to be set.


